X-150 - A Micro Turbojet Engine
Watch me build my engine from scratch !
| Back | Next |
|
X-150 - A Micro Turbojet Engine Watch me build my engine from scratch !
|
Shaft and Tunnel |
|
Picture |
Description |
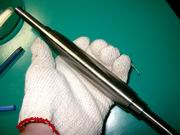 |
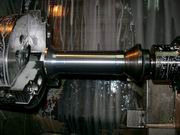
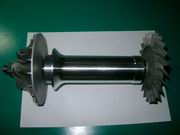
The shaft is quite simple I show you the CNC turned main shaft directly. The critical rotational speed ( first natural frequency ) for this shaft will be much higher than max rpm allowed, ie 70K rpm. High tension steel suxh as En24T is nice for making this shaft. You can find the material compositions of En24T in the FAQ section. |
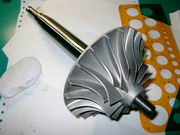 |
Let's try fitting the compressor wheel on. Hmmm, they live together in perfect harmony just like ebony and ivory on the piano keyboard. You can imagine the first shaft I made have to comply with the bore hole of the wheel. |
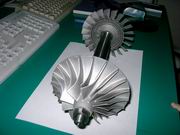 |
Shaft assembly front view. |
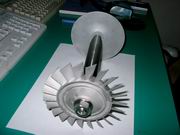 |
Shaft assembly rear view. Next step is the sourcing of ceramic ball bearings capable of working under 70k rpm and 300 deg C. I have bought 2 steel ball bearings in about US$ 2.5 each (I bought it just for testing the tight -fit is proper or not), but no I won't risk using it. Ceramic ball bearings with retainer made of special material will cost 20-50 times more than the steel ball one I guess. |
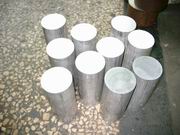 |
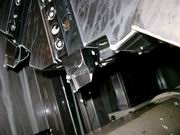
Aluminum round stocks for turning the
shaft tunnel. A well known CNC lathe made in Taiwan, equipped with a nice
Fanuc controller is used to turn our work piece. You might dispute that for
prototyping there's no need to produce so many pieces. Well, I am actually
taking a risk of engineering change on this part, but I am so confident on
the design, so... Stainless shaft tunnels will be provided as an option. |
 |
Work piece is secured on a 3-jaw chuck. Two passes needed, one for each end to turn the end shape and internal shape. |
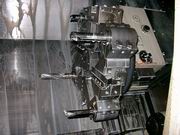 |
Tool turret of this CNC lathe. |
 |
Workpieces in intermediate pass. |
 |
Tool for turning tunnel outer. |
 |
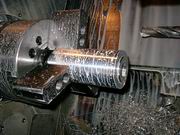
Turning the outer to shape. |
 |
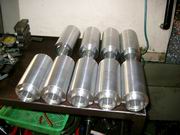
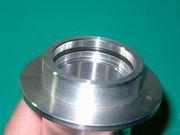
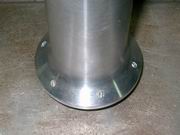
Completed shaft tunnel view no.1. |
 |
Completed shaft tunnel view no.2. I am relatively conservative in aluminum parts, so larger safety factor will be specified as you can see thickness of the tube wall is larger than 5mm. In consequence it's a very strong part for sure. |
 |
O ring - Viton assembled |
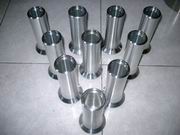 |
Shaft tunnel array, no bowling strikes thanks. |
 |
Shaft tunnel drilled. Thread not yet tapped. Viewed from the rear end. These holes are needed for securing the shaft tunnel to the diffuser disk. |
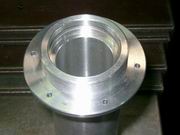 |
Shaft tunnel drilled. Thread not yet tapped. Viewed from the front end. |
 |
Shaft assembly. |